


Unveiling the Mysteries of Diamond Cutting: From Planning to Faceting
Diamonds are one of the most prized and valuable gemstones in the world. However, the value and beauty of a diamond are not just determined by its size, clarity, and color, but also by how it is cut. The diamond-cutting process is a complex and skilled craft that requires precision, artistry, and advanced technology. In this article, we will explore the steps involved in diamond cutting.
Step 1: Planning and Marking
The planning and marking step is a crucial stage in the process of cutting a diamond. Before a diamond can be cut, the diamond cutter must carefully examine the rough diamond to determine how it can be cut to achieve the best possible outcome. This step involves analyzing the diamond's natural shape, internal characteristics, and color, as well as determining the best way to minimize the loss of valuable material during the cutting process.
Once the cutter has analyzed the rough diamond, they use a special pen to mark the diamond's surface. The marking process involves drawing a line on the diamond's surface to indicate where the diamond will be cut. The diamond cutter must take great care in marking the diamond, as even the slightest mistake can result in significant financial loss.
The markings on the diamond are based on the cutter's analysis of the stone and the desired outcome. For example, if the rough diamond has a natural inclusion that can be cut around, the cutter will mark the diamond in such a way as to preserve the inclusion, while still maximizing the diamond's potential brilliance and fire.
The markings on the diamond are typically made using a fine-tipped pen or a laser. The use of a laser is becoming increasingly popular, as it allows for more precise markings and minimizes the risk of damaging the diamond's surface.
Once the diamond has been marked, the cutter must carefully plan the cutting process. This involves determining the optimal number and shape of the diamond's facets, as well as deciding which parts of the diamond to cut and which to leave intact. The goal of the planning process is to maximize the diamond's brilliance, fire, and overall beauty, while minimizing the loss of valuable material.
Step 2: Cleaving or Sawing
After the planning and marking stage, the diamond cutter moves on to the actual cutting process, which begins with cleaving and sawing.
Cleaving involves splitting the diamond along its natural planes of weakness to create separate pieces, or "cleavages," that will be used to make multiple diamonds. The cutter first creates a groove or furrow along the intended cleavage plane using a laser or a diamond saw blade. Then, a small metal blade called a "cleaving knife" is inserted into the groove and tapped with a hammer or mallet to split the diamond. The process requires great skill and precision, as any misstep can result in a damaged or ruined diamond.
Sawing, on the other hand, involves using a diamond saw blade to cut the diamond into the desired shape and size. The sawing process is necessary for diamonds that cannot be cleaved, such as those with irregular or complex shapes or those that are too small to be cleaved effectively. The diamond is mounted onto a rotating spindle and the saw blade, which is coated with diamond grit, is slowly fed into the diamond while being cooled with water or oil. The sawing process can take several hours or even days, depending on the size and complexity of the diamond.
Both cleaving and sawing are critical steps in the diamond cutting process, as they lay the foundation for creating the final shape and size of the diamond. After these steps, the diamond moves on to the bruting and polishing stage to create the facets that give it its unique sparkle and brilliance.
Step 3: Bruting
After the cleaving and sawing process, the diamond is shaped into a round or oval shape using a process called bruting. This process involves the use of a diamond cutting wheel, which is typically made of cast iron and coated with diamond dust. The diamond is held in place by a special tool called a dop, which is attached to a rotating spindle.During the bruting process, the diamond is rotated against the cutting wheel, which slowly grinds away the edges of the stone. The goal is to create a symmetrical shape and smooth surface for the diamond. The bruting process is a delicate operation, as the diamond must be held in place with just the right amount of pressure. Too much pressure can cause the stone to crack or shatter, while too little pressure will not create the desired shape.
The bruting process is usually performed in several stages, with the diamond being rotated against the cutting wheel at different angles to create different facets. The final stage involves polishing the diamond, which gives it a smooth, reflective surface. Polishing is typically done using a fine diamond powder, which is applied to a polishing wheel.
Once the bruting and polishing process is complete, the diamond is ready for the final step in the cutting process: inspection and grading. A trained diamond grader will examine the stone under magnification to assess its quality based on the 4Cs (cut, clarity, color, and carat weight). The diamond will then be assigned a grade and certificate, which indicates its quality and value.
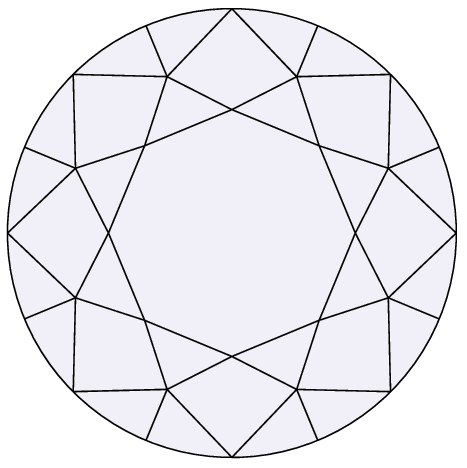
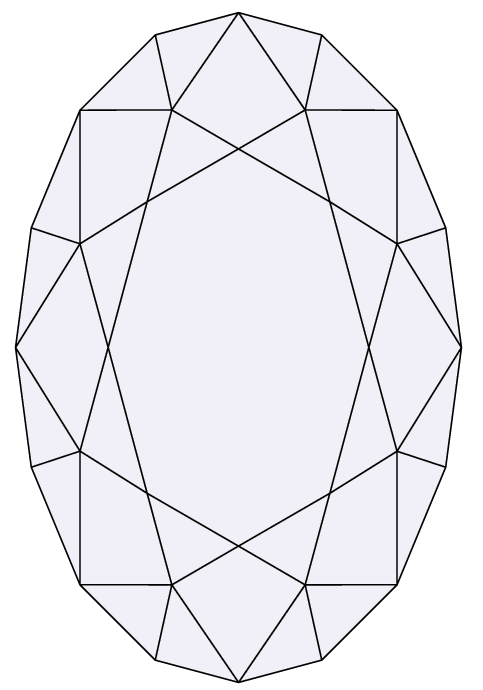
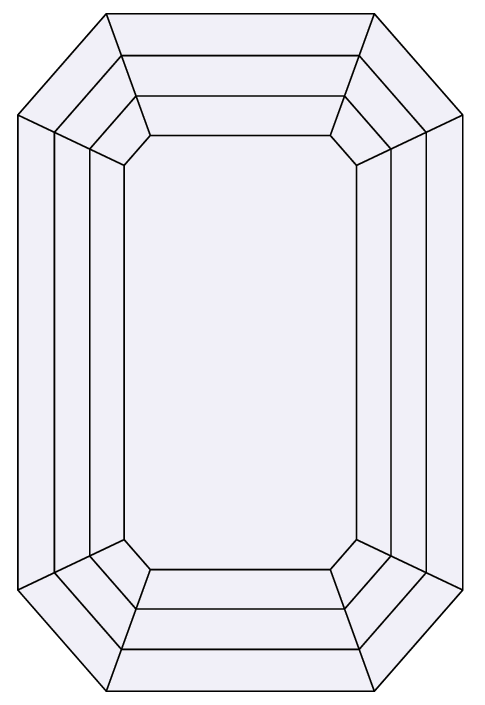
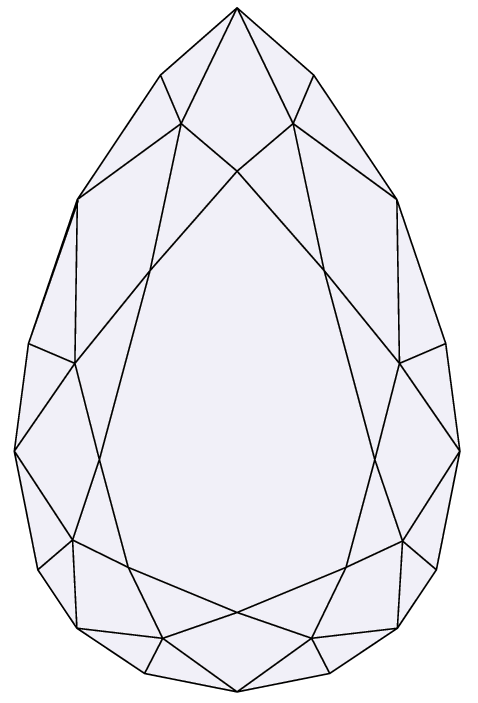
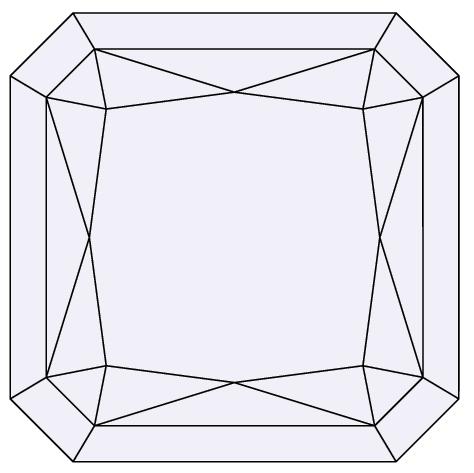
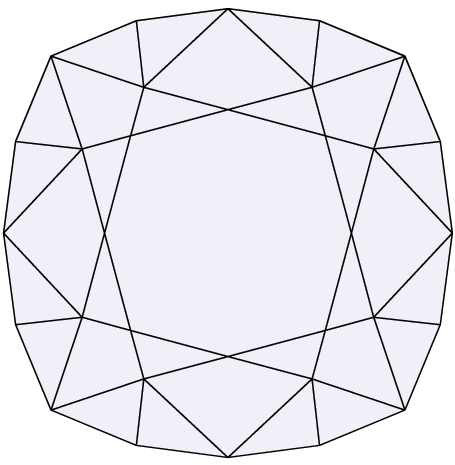
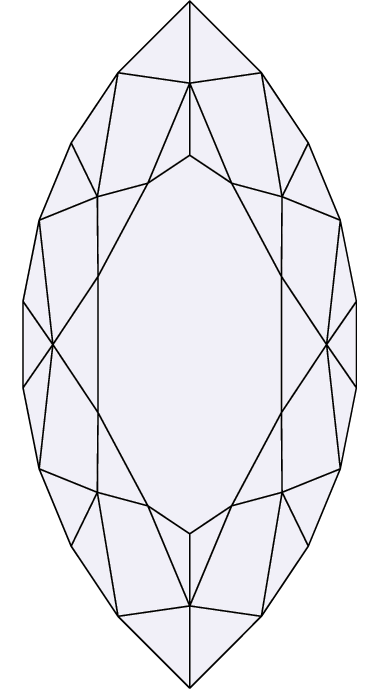
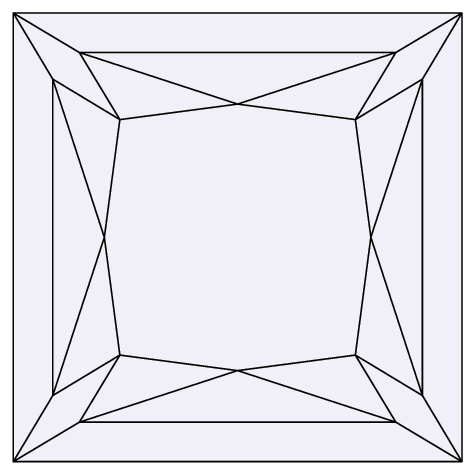
Step 4: Faceting
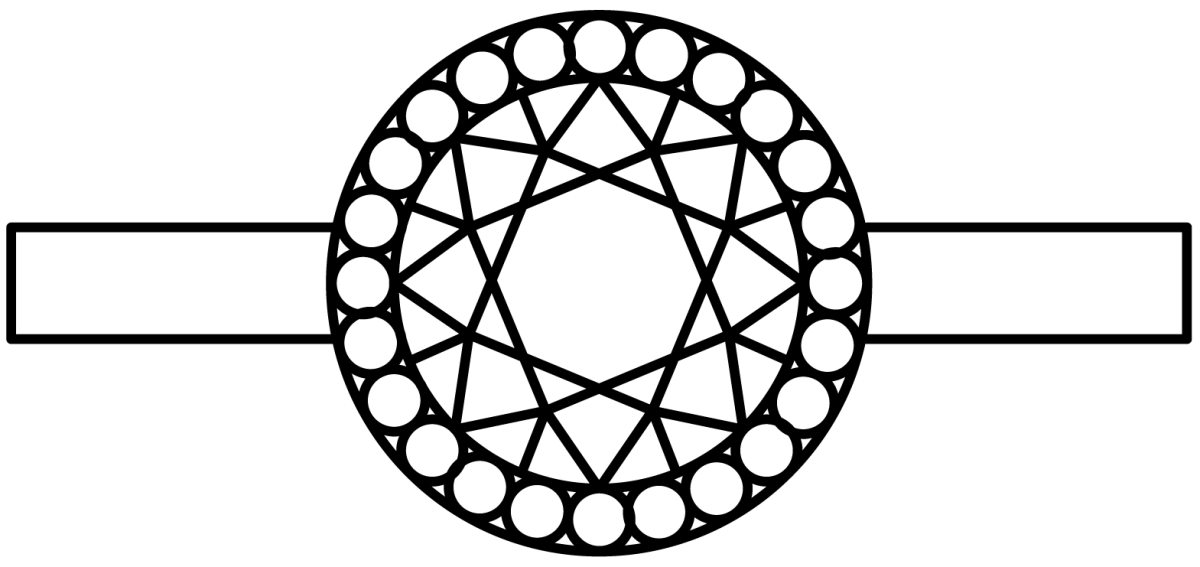
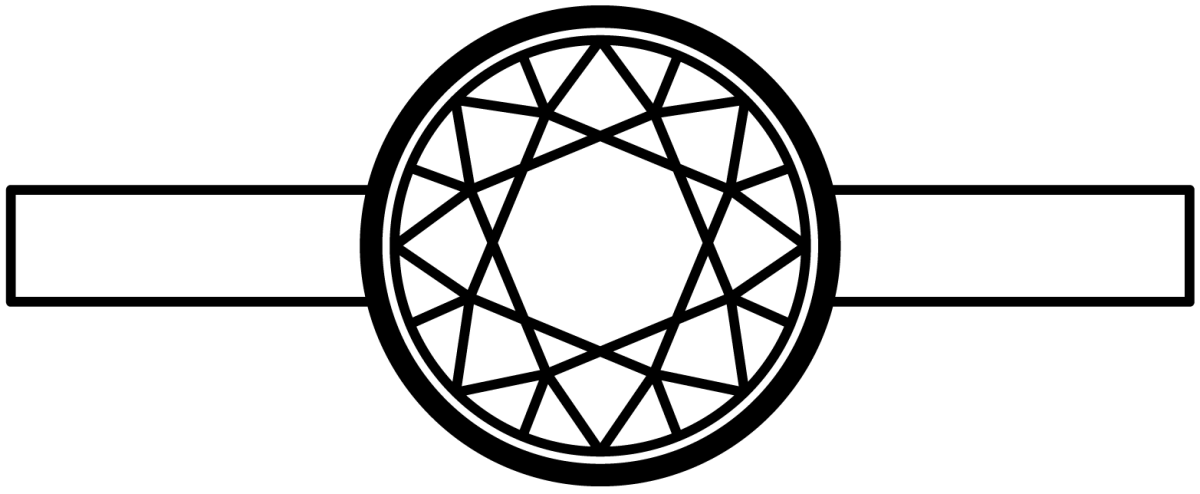
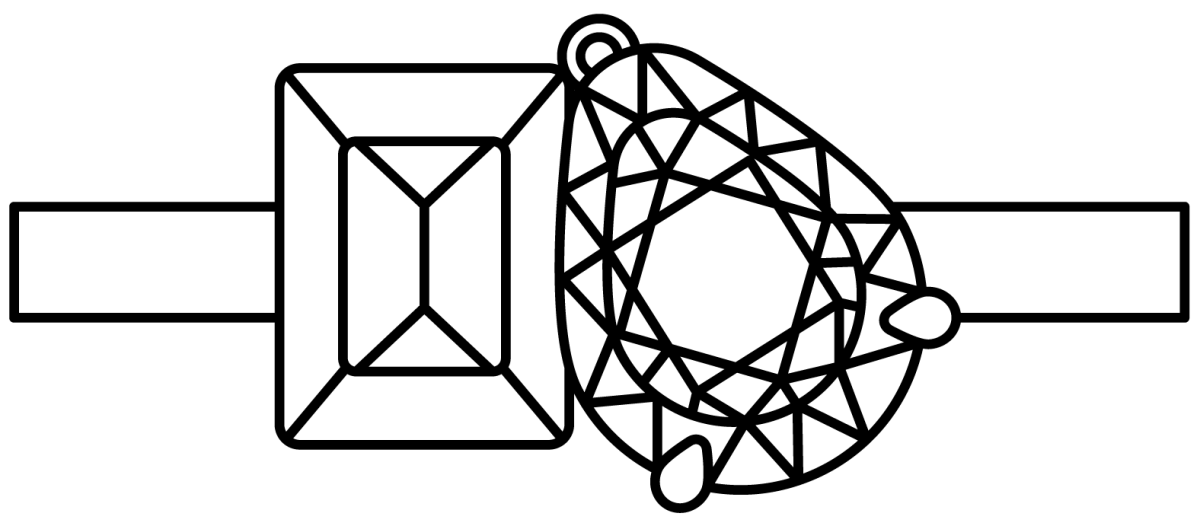
Faceting is the process of creating the diamond's many small, flat, polished surfaces, known as facets. This is the most intricate and important step in diamond cutting, as the facets are what give the diamond its unique sparkle and brilliance.
The faceting process begins with the diamond being transferred to a faceting machine, which holds the stone in place and allows the cutter to precisely control the angles and positions of the facets. The first step is to create the table facet, which is the large, flat facet on the top of the diamond.
Once the table facet is cut, the cutter moves on to create the crown facets, which are the facets that surround the table and extend down the sides of the diamond. The cutter must carefully measure and calculate the angles and positions of these facets to ensure that the diamond will reflect and refract light properly, creating the desired sparkle and brilliance.
Next, the cutter moves on to the pavilion facets, which are the facets that sit below the girdle and extend down to the point of the diamond. The pavilion facets must also be cut at precise angles and positions to ensure maximum light performance.
Finally, the cutter creates the culet, which is the tiny facet at the bottom of the diamond. The culet is important because it helps prevent chipping and damage to the diamond's point.
Throughout the faceting process, the cutter must constantly check and adjust the angles and positions of the facets to ensure that they are all properly aligned and symmetrical. This requires a great deal of skill and expertise, as even the slightest variation can greatly impact the diamond's beauty and value.
Once the faceting process is complete, the diamond is polished to remove any scratches or marks left by the cutting and faceting process. The final result is a perfectly cut and polished diamond that sparkles and shines with unparalleled beauty and brilliance.
In conclusion, the process of diamond cutting is a complex and skilled craft that requires precision, artistry, and advanced technology. From planning and marking to cleaving, bruting, and faceting, each step in the process is carefully executed to produce a beautiful, sparkling diamond. The skill of the diamond cutter is essential in creating a diamond that is not only beautiful but also valuable. Understanding how diamonds are cut can help you appreciate the beauty and craftsmanship that goes into creating these precious gemstones.
